
Built for drawing ink into place
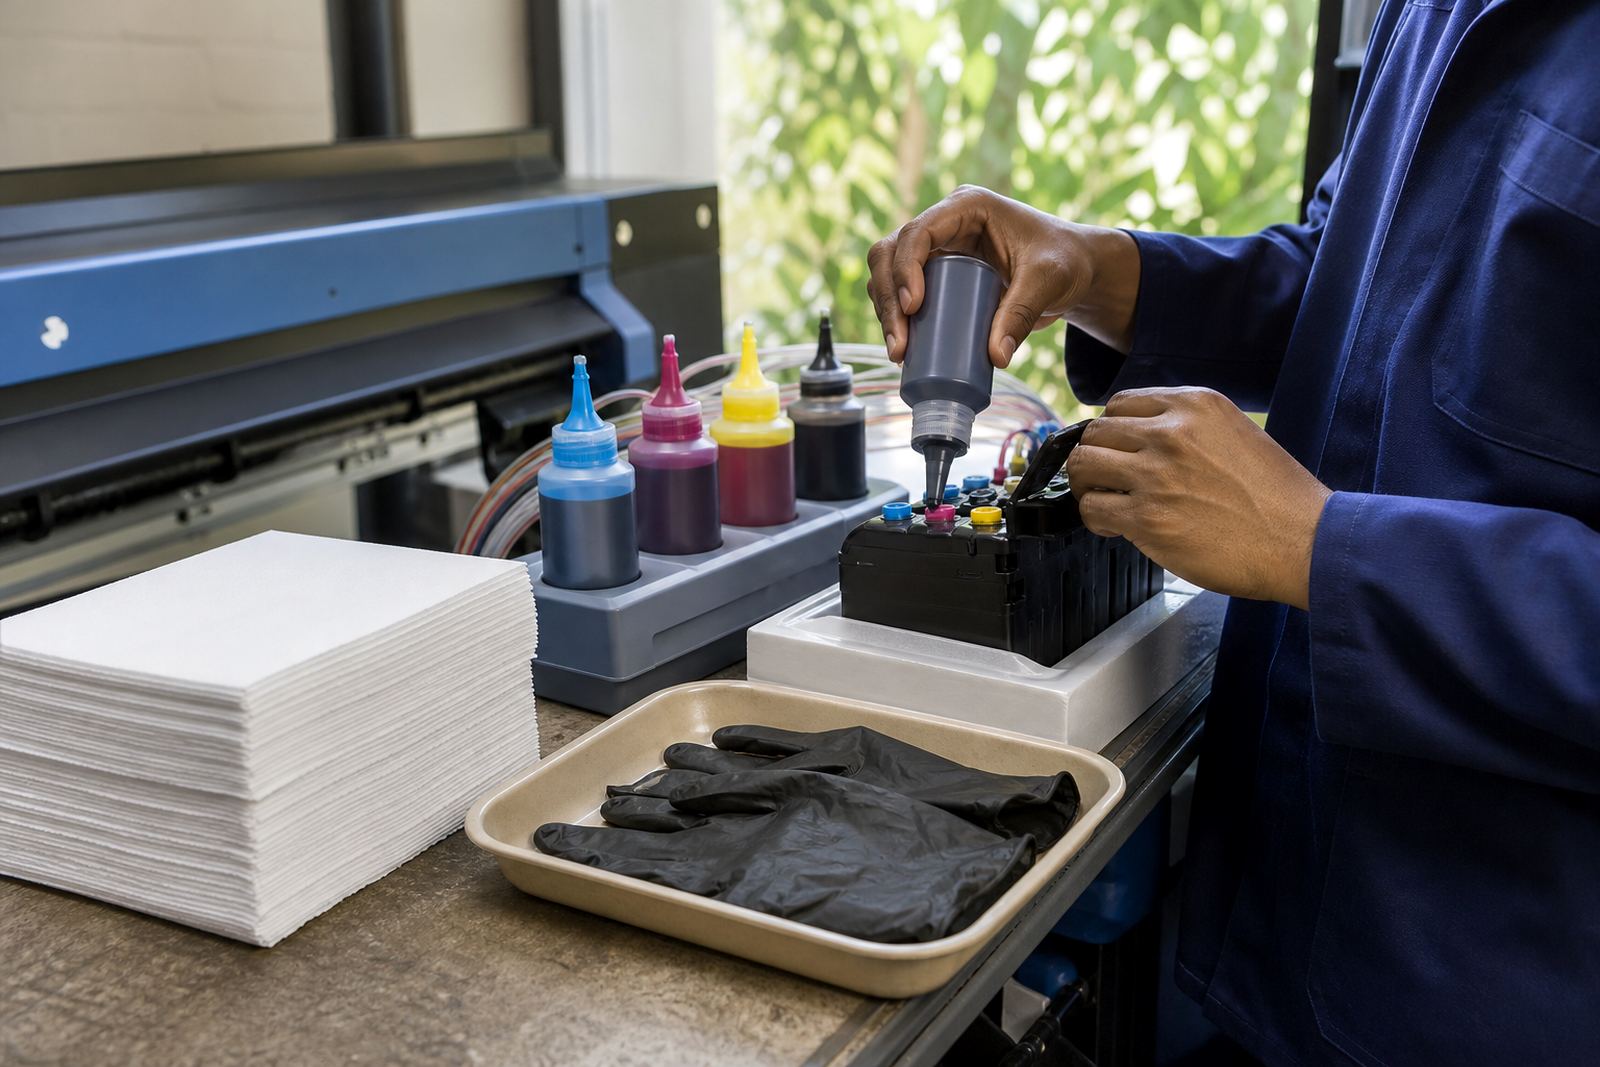
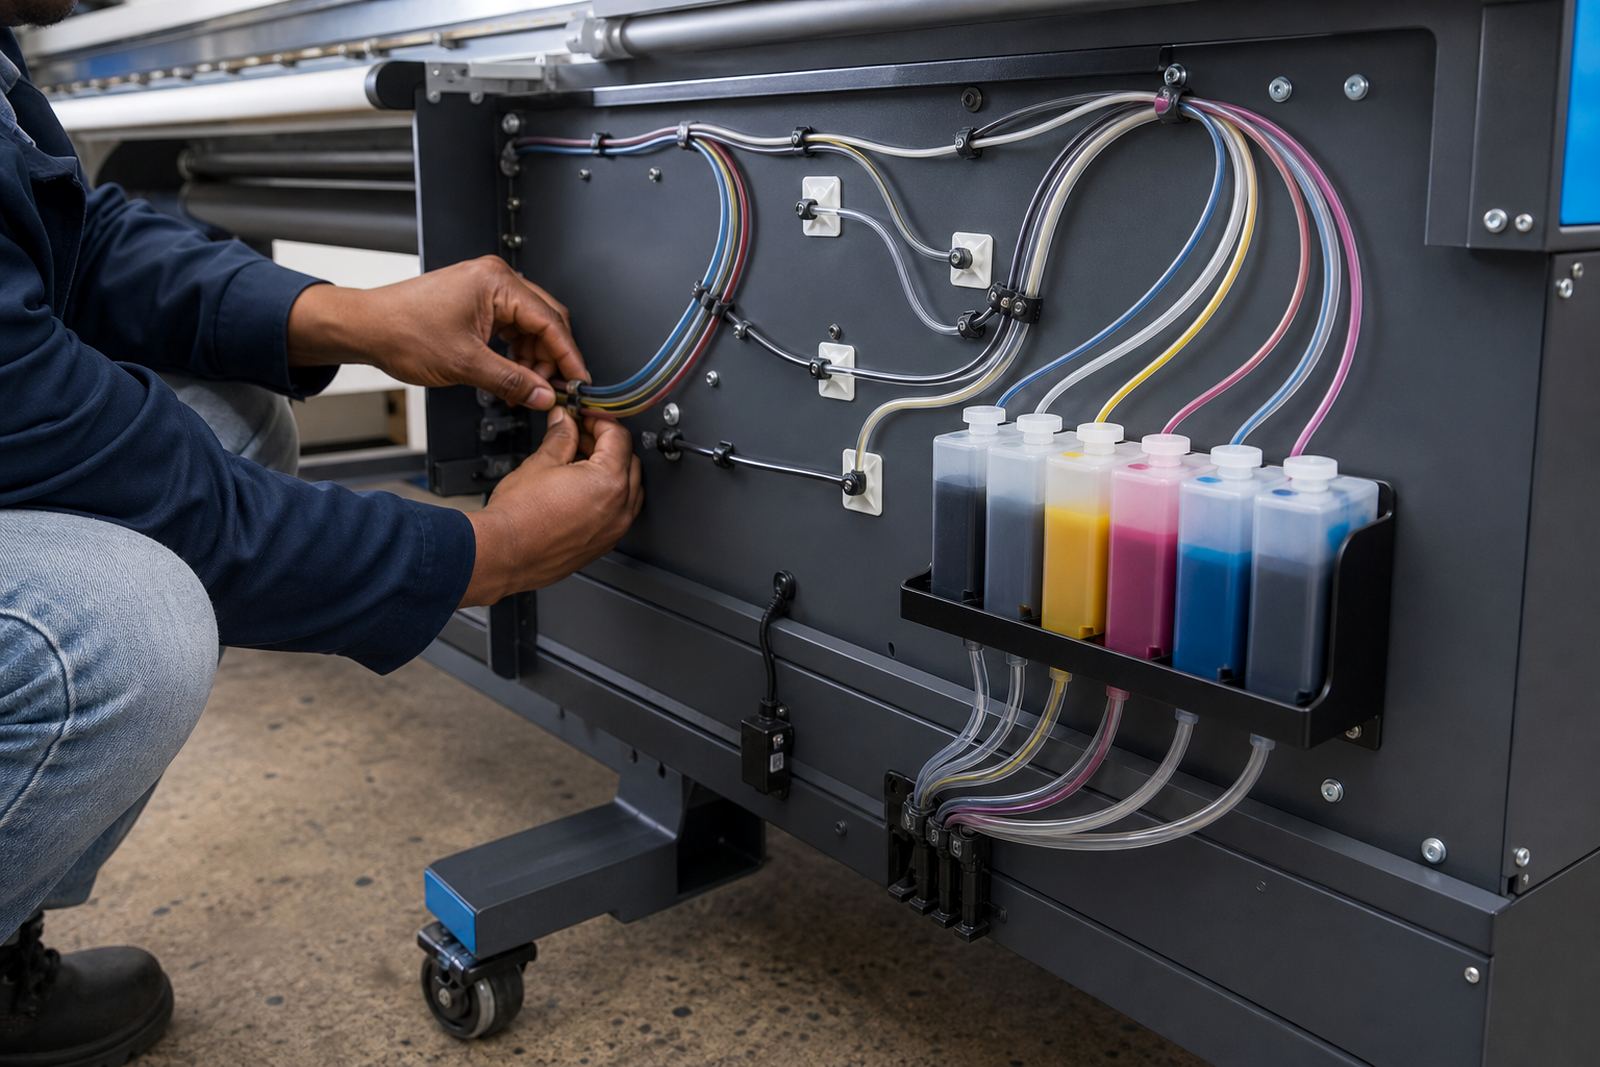
A priming tool set is used when ink must be pulled through a refill path in a controlled way. In the refill trade, that means filling a cartridge body, charging a continuous ink supply line, or helping recover flow after an air lock has stopped a nozzle test from reading cleanly.
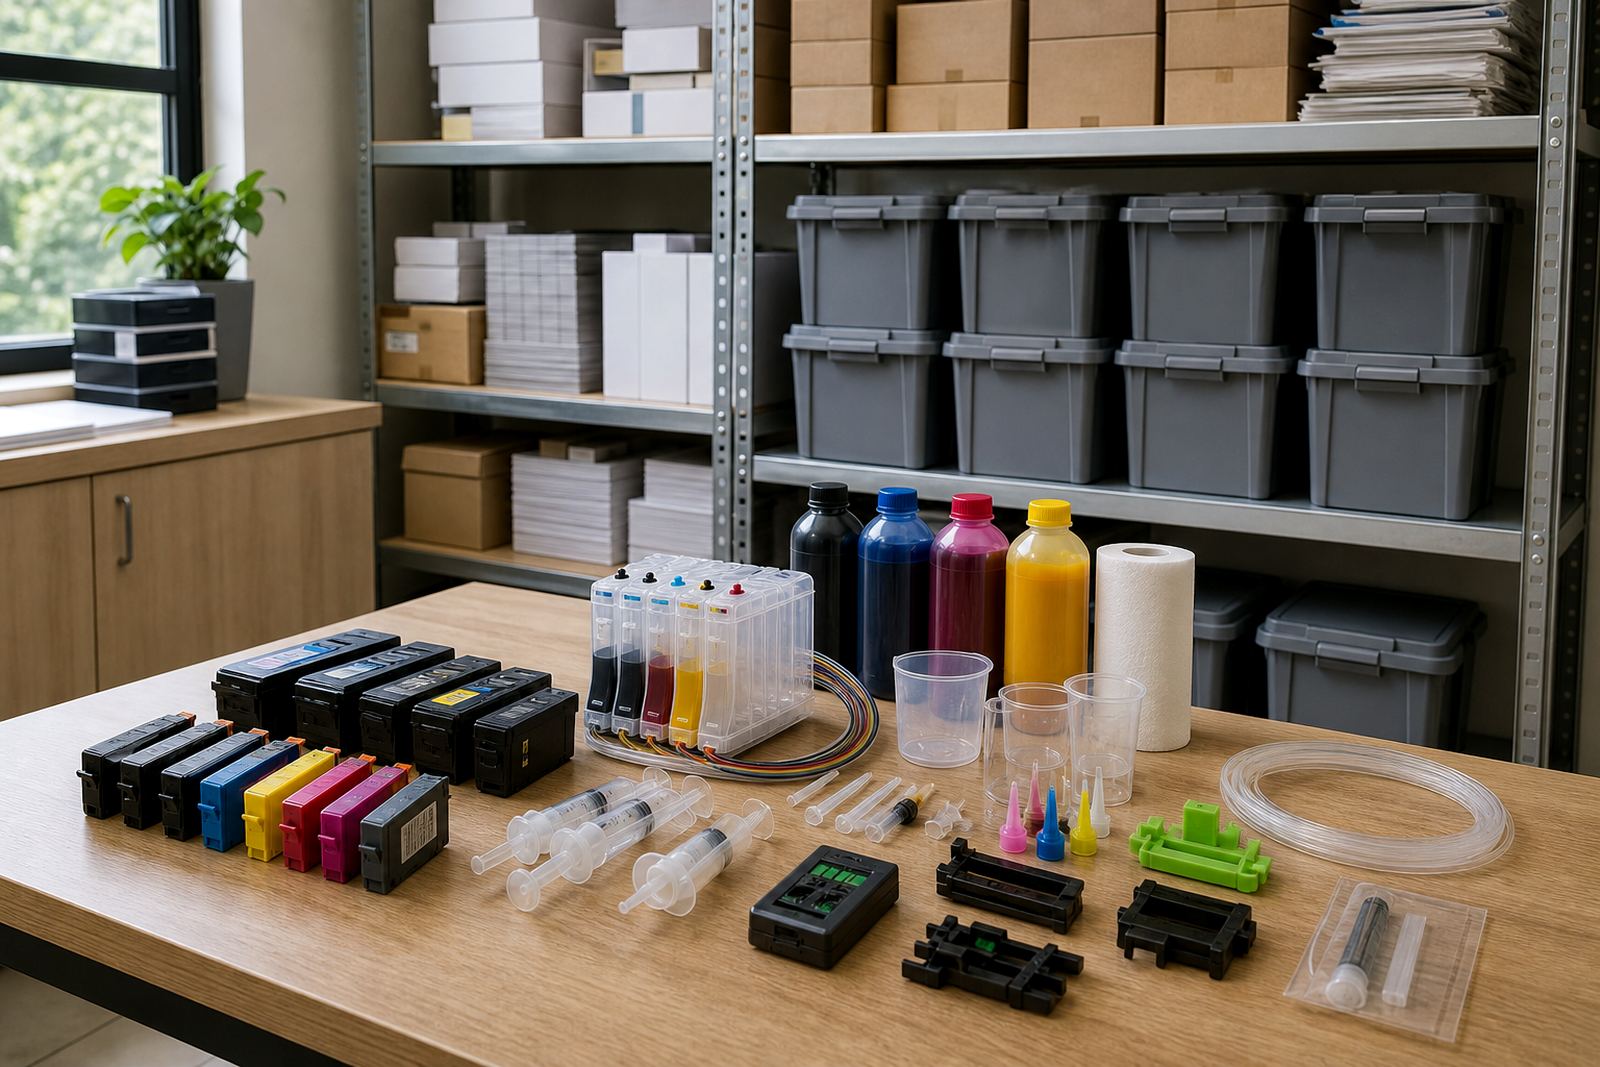
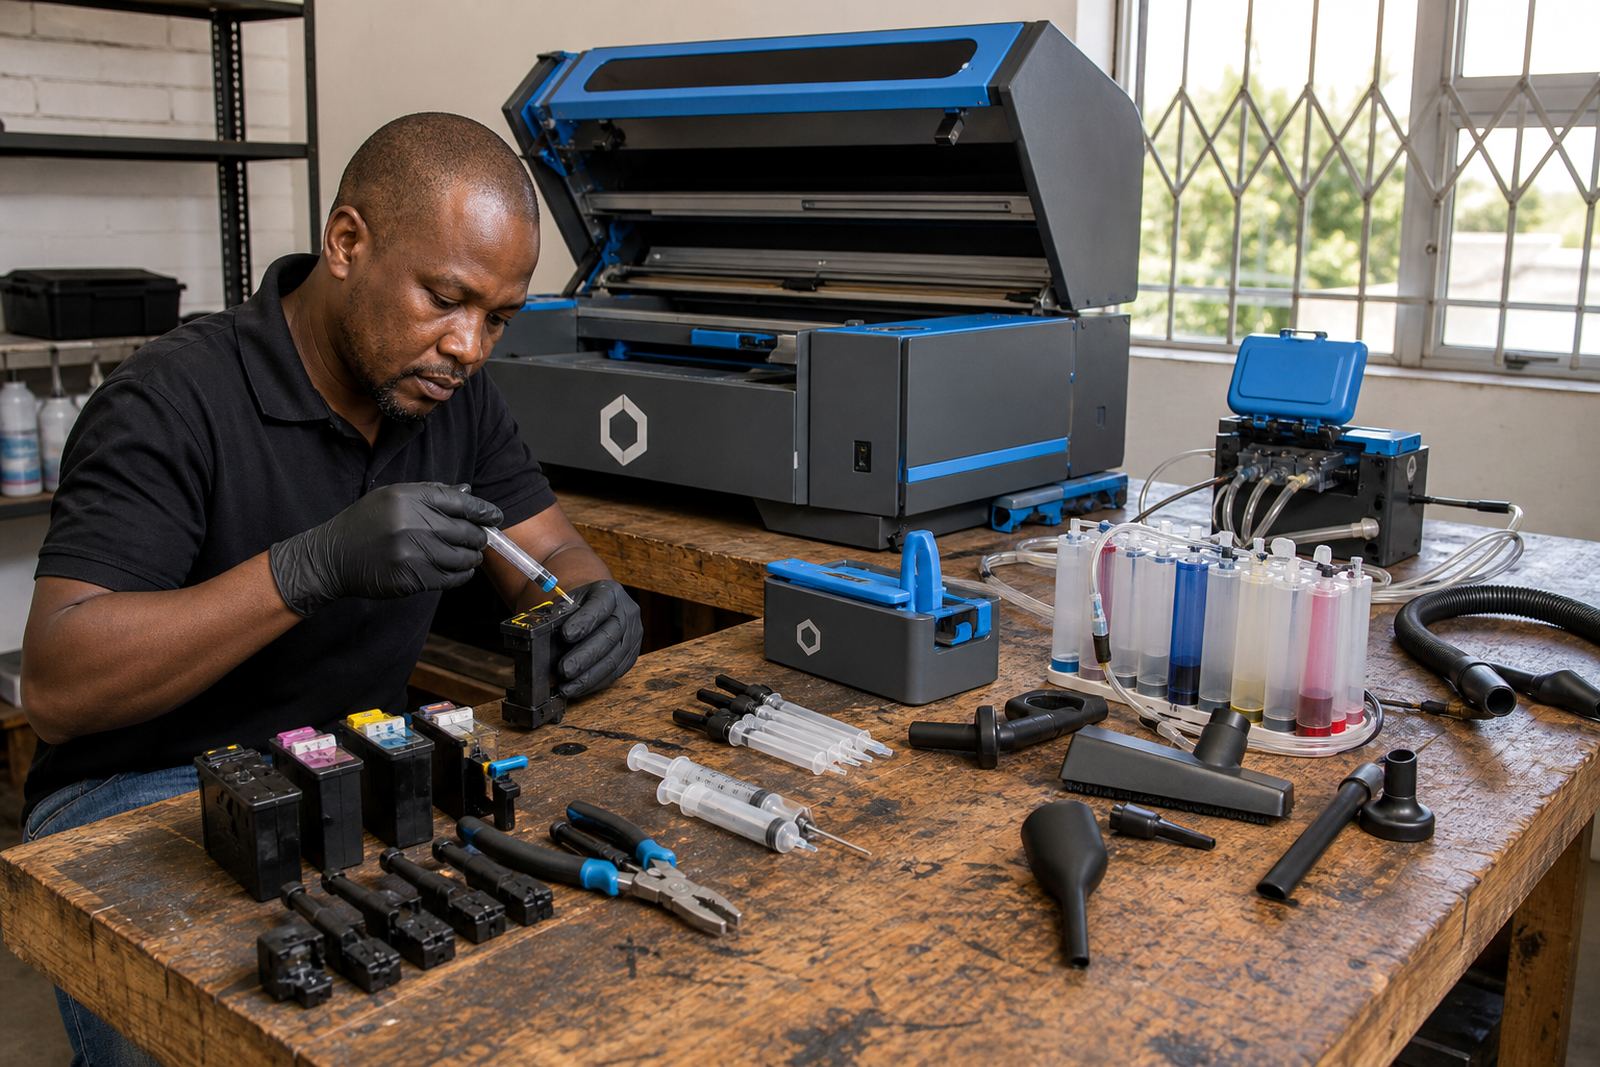
The set normally includes a hand syringe, flexible tubing and connector pieces that match common refill ports. On some jobs a technician uses it to pull ink through a dampened channel slowly, then checks for bubbles, drips and resistance before the printer is put back into service.
- Hand-operated priming syringe for controlled suction
- Flexible tubing in a size that fits standard refill ports
- Connector tips for cartridge and line work
- Used for setup, recovery and line charging
Sizes and fittings that get used in real shops
Priming tools are usually chosen by port size, tube bore and how firmly the fitting seals. A narrow tube can work well for small cartridges where ink channels are tight, while a wider bore is often easier on refill lines and larger reservoirs. The wrong fit wastes time and leaves air in the path, which shows up later as broken lines on a nozzle test.
For offices and studios that handle mixed machines, a set with more than one connector is worth keeping near the refill station. It helps when one device uses a snug cartridge port and another needs a softer seal on a bulk ink line. Westville workbenches tend to keep a small tray of fittings nearby because the job changes from week to week, especially on mixed benchtop and wide-format setups.
- Small-bore option for compact cartridge channels
- Medium-bore option for standard refill work
- Wide connector for line priming and recovery work
- Tip sizes should match the refill port or adapter in use
Where the tool earns its place
This kit suits offices that refill a steady run of office cartridges, design studios that need colour consistency, artists working with pigment or dye ink, and print shops that manage bigger ink volumes. It is also useful where a machine has been idle and the channels need help before the first test print. A clean prime can save a great deal of wasted ink when a system has taken in air.
In Durban humidity, cartridge seals and line ends need proper attention because damp air can sit around open fittings and leftover ink. For coastal jobs, priming should be followed by a careful wipe-down and a short check for seepage around seals, damp tubing or oversaturated pads.
- Office refills where print volume changes through the month
- Studio work where colour balance must stay steady
- Wide-format systems that need line charging after servicing
- Recovery jobs after transport, storage or an empty tank run
Fitting and setup notes from the refill bench
Most priming tools do not need permanent installation, but they do need the right connector and a steady hand. A technician usually attaches the tubing to the cartridge port or ink line, pulls ink slowly and watches the chamber for air movement. Pulling too hard can flood a cartridge or draw foam into the line, so the motion has to stay controlled.
When a printer uses a chip resetter or refillable cartridge body, the priming step often comes before the reset is checked. That sequence helps confirm the cartridge is actually full enough to read and print properly. On CISS work, priming may also be paired with a nozzle check and a few test passes on plain paper before the job is handed over.
- Connect tubing firmly before drawing ink
- Work slowly to avoid foaming or spill marks
- Check seals, gaskets and cartridge chambers after priming
- Test print after setup to confirm line flow
Care, cleaning and storage between jobs
After use, the tool should be flushed with the correct cleaning fluid or warm water where appropriate, then dried and stored so the tubing does not clog. Ink left inside the syringe or connector can harden, especially with pigment systems. A clean tool lasts longer and keeps the next refill job neater.
Separate tools for dye and pigment work are worth considering in a busy shop. Pigment ink has more body and can leave residue if the same tubing is not cleaned well. Keep caps on the connectors, hang the tubing straight if possible, and avoid bending the line into tight loops that hold old ink in the corner.
- Rinse immediately after use to reduce blockages
- Keep dye and pigment tools clearly separated
- Store dry with caps fitted where possible
- Replace brittle tubing before it cracks at the ends
Order checks that save time on the bench
Before ordering a priming tool set, it helps to confirm the cartridge type, connector size, and whether the job is for standard office cartridges or a larger bulk ink system. If you are supporting several printers across a Durban office, it also helps to note the ink type in use, because dye and pigment handling can differ at the priming stage.
For courier delivery across South Africa, the pack-out should match the way the tool will be used on arrival. A refill technician may need a compact hand set for field work, while a studio bench might need extra connectors and replacement tubing. If you are using our contact form, include the printer family, the refill format, and whether the tool is for setup, recovery or ongoing maintenance.
- Printer type and cartridge format
- Refill line or cartridge port size
- Dye or pigment ink handling
- Need for extra tubing, adapters or replacement tips
Key facts
| Product type | Hand priming tool set for cartridge refill and ink line charging |
|---|---|
| Main use | Drawing ink through refill channels during setup and recovery |
| Typical contents | Syringe, flexible tubing, connector tips, adaptor pieces |
| Compatible work | Refurbished cartridges, refill kits, CISS lines, bulk ink systems |
| Ink types | Suitable for dye ink and pigment ink with correct cleaning |
| Use range | Office printers, design studios, artists and wide-format print shops |