
Set Up a Clean Patch Before the Bottle Opens
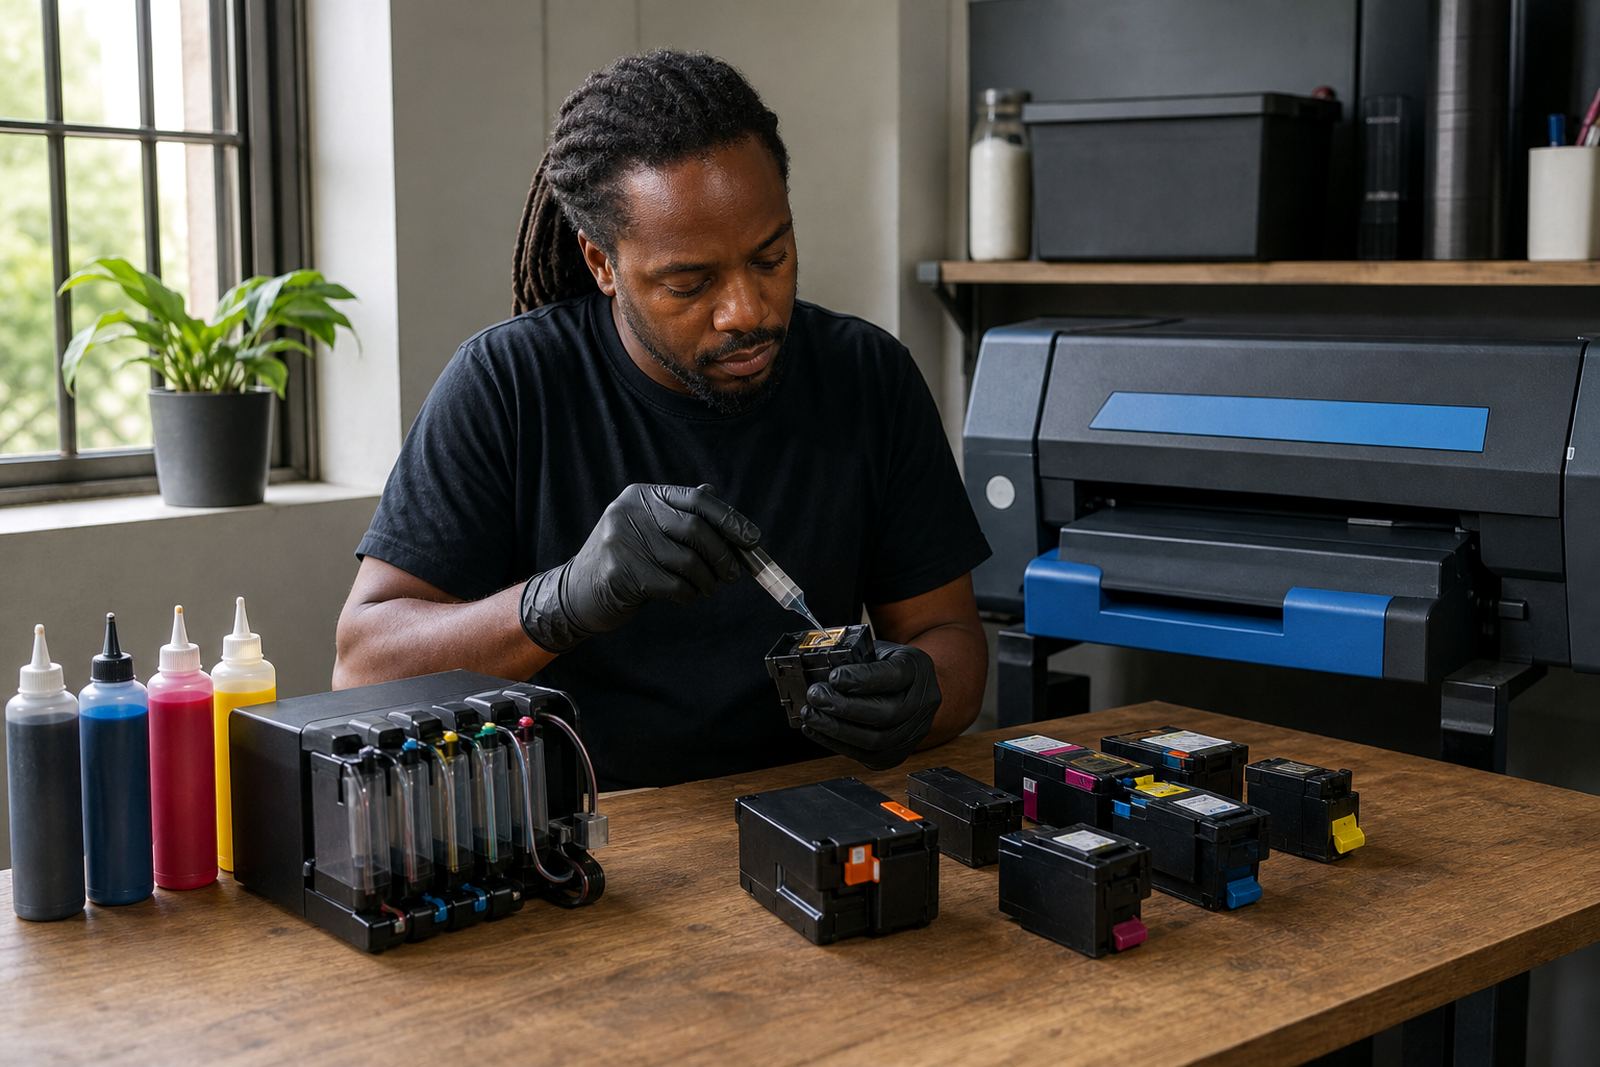
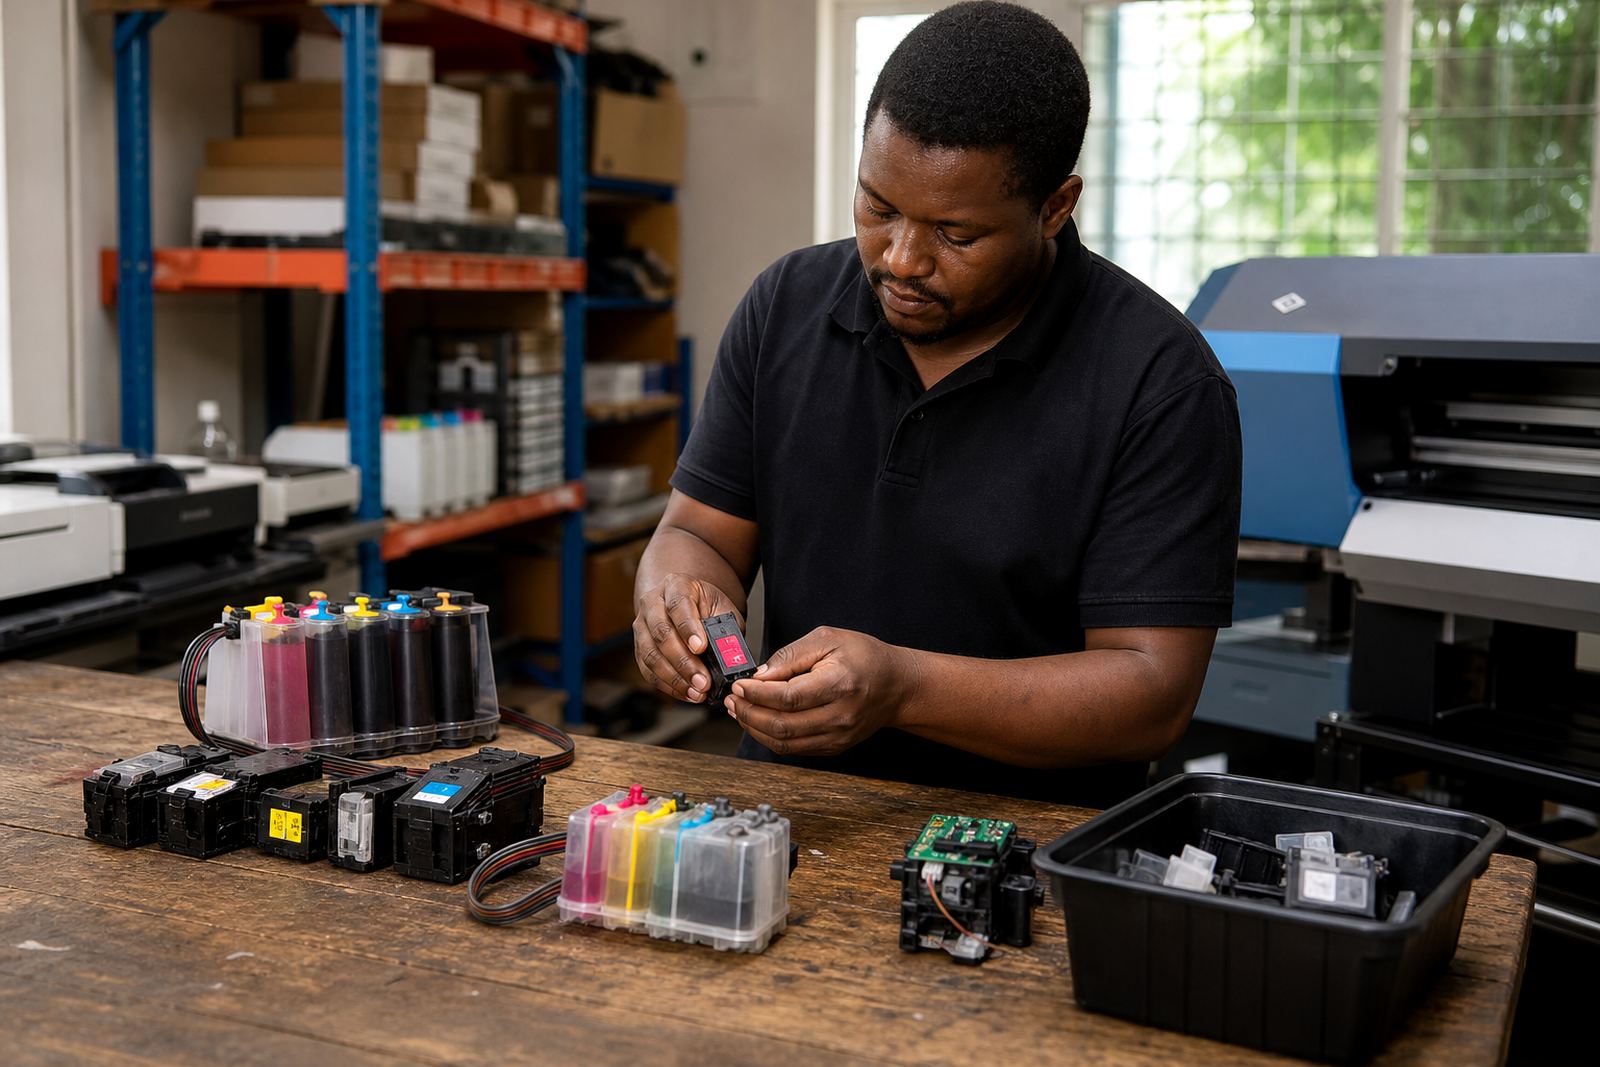
Pick a flat area with good light and enough space for caps, syringes, cartridges and paper towels. Keep food and drinks away from the bench, and clear loose paper that can catch a drip and spread ink across the surface.
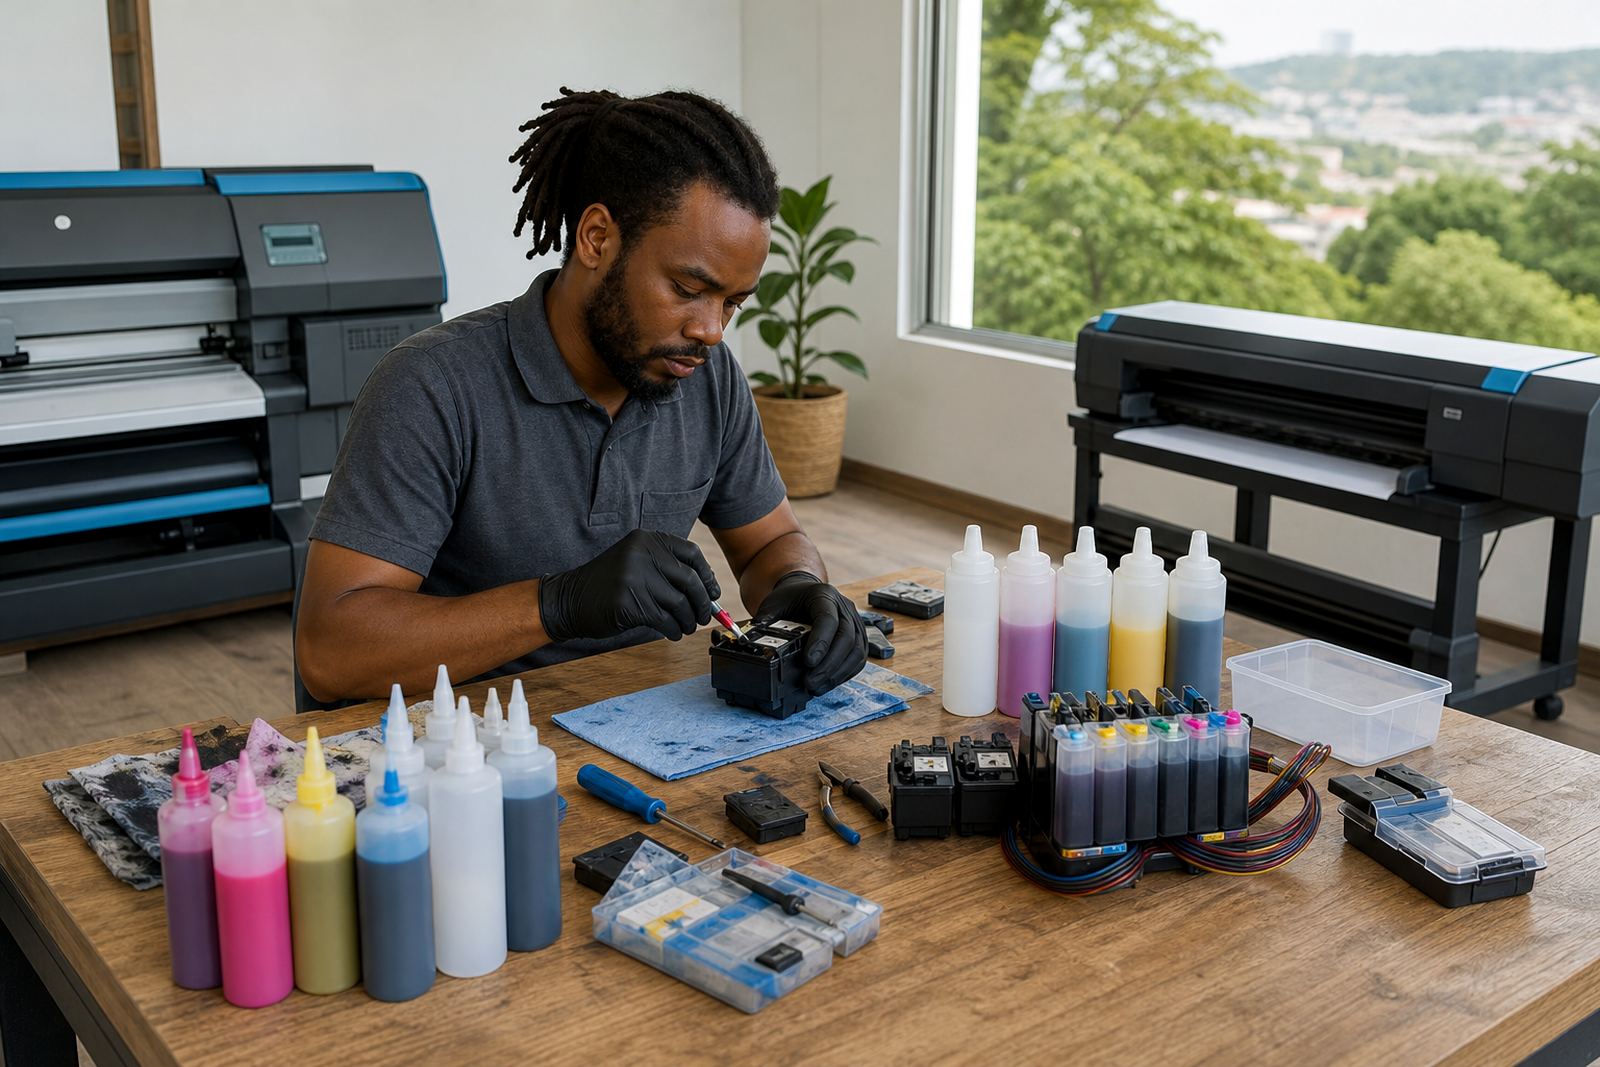
Lay down newspaper, a plastic tray, or a washable mat before you start. If the room has carpet, use a hard board or a tray underneath the work area so one small spill does not soak in and travel under the table.
Gloves, Cloths and the Clothing You Wear
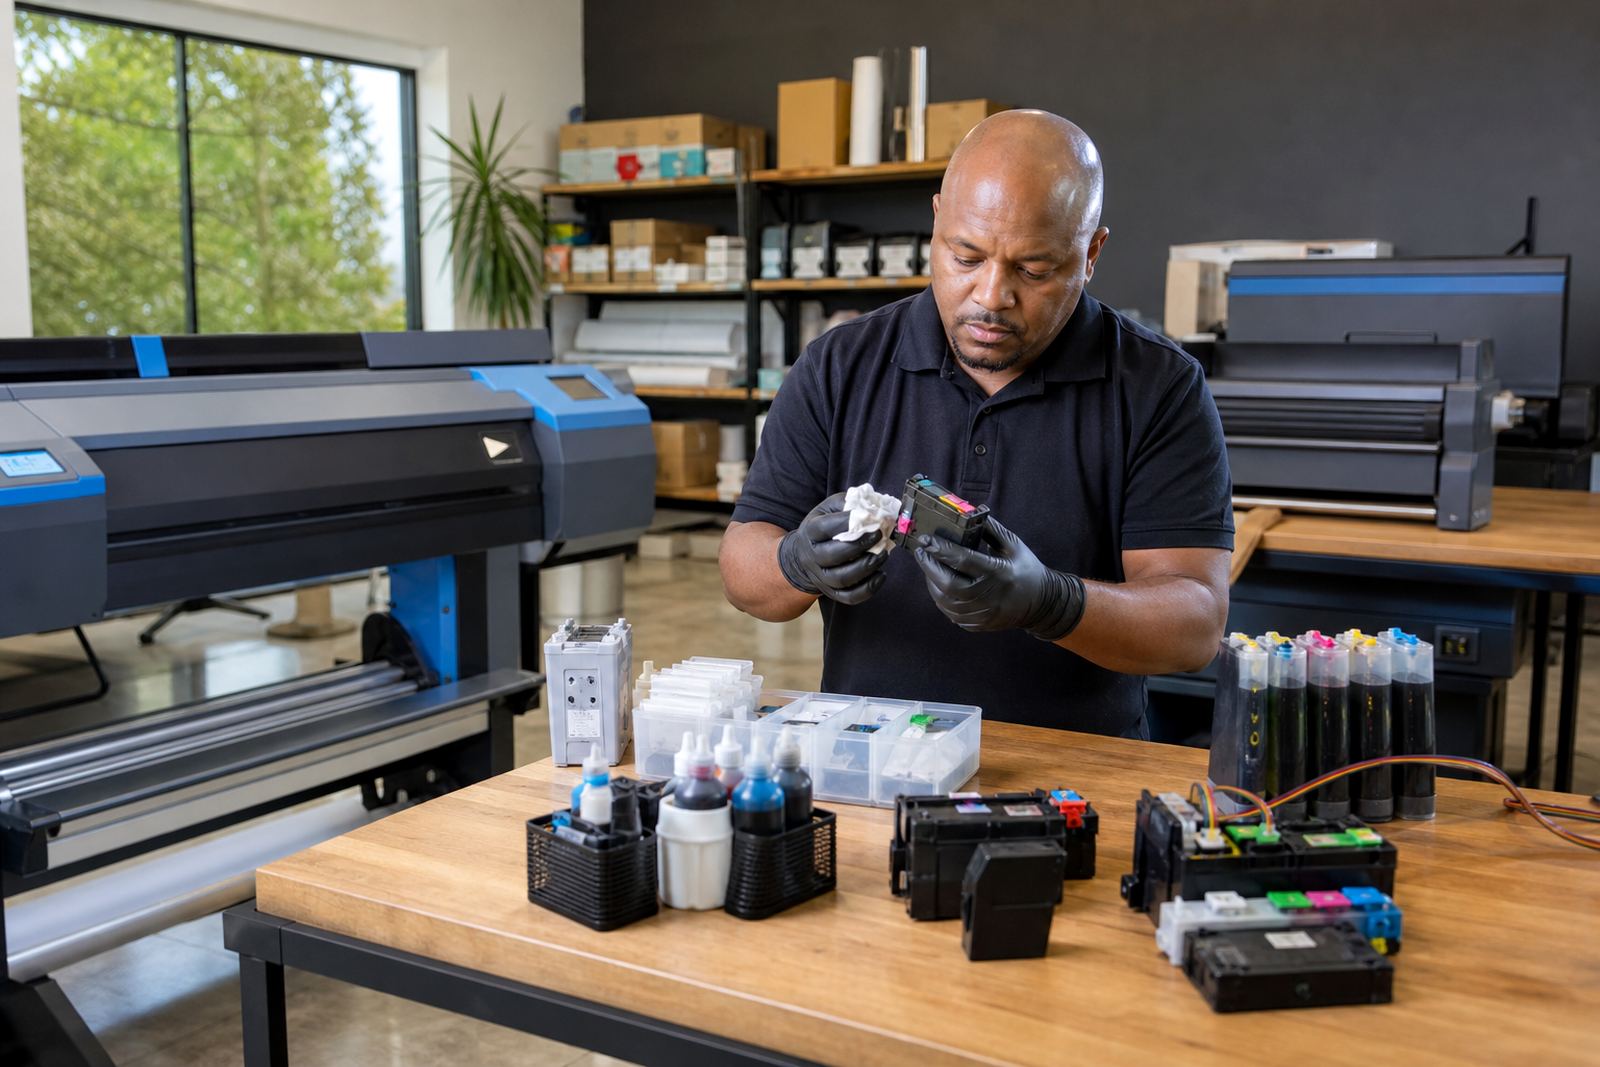
Nitrile gloves are a better choice than thin kitchen gloves, because they give a firmer grip on wet bottles and stained cartridge bodies. Change gloves if they tear, if the fingertips are slippery, or if the outside is already marked with mixed colours.
- Wear old clothing with sleeves that can be pushed up.
- Keep a dry cloth and a damp cloth within reach.
- Use paper towel for first wipe up, then a proper cleaner on the bench.
- Wash hands after work even if you wore gloves.
Ink stains set into fabric fast, and a quick wipe is easier than trying to rescue a shirt later.
Opening Bottles Without Splashing the Bench
Open ink bottles slowly and keep the cap in your other hand so it does not roll or tip into the spill zone. If a cap has a seal, peel it back carefully and avoid snapping it open with force, because that often sends a small spray onto the table.
When filling a cartridge or reservoir, move in short controlled pours. Stop before the level reaches the top mark, then let the ink settle. A filled chamber needs a little air space, otherwise pressure can force ink out through the vents or during transport.
- Do not squeeze the bottle hard.
- Keep the nozzle close to the opening.
- Pause if bubbles rise too quickly.
- Wipe the bottle neck before recapping it.
Matching the Ink to the Cartridge or System
Not every ink behaves the same way. Dye ink is often used where colour smoothness and bright output matter, while pigment ink is generally chosen where sharper text and better resistance to moisture are needed. The wrong fill can lead to clogging, weak colours or poor nozzle performance.
If you are unsure, check what the printer was running before the refill and keep the same type where possible. Mixing ink types in the same chamber is risky, and it can leave residue that is hard to clear from lines, tanks and printhead channels.
Spill Control for Tables, Floors and Hands
If ink lands on the bench, blot it first do not rub it around. Rubbing spreads the stain and pushes colour into the grain of wood or the joints of a tiled top. A gentle wipe with a damp disposable cloth works better for the first pass.
For hands, soap and warm water are usually enough if the stain is fresh. For surfaces, test a small corner before using a stronger cleaner. Some plastics haze if they are scrubbed too hard, and some sealed wood surfaces hold onto stain if solvent is left sitting too long.
- Blot from the outside edge toward the middle.
- Keep a separate cloth for spills and another for dry wiping.
- Do not pour leftover ink back into a clean bottle.
- Seal used wipes in a bag before binning them.
After the Refill, Look at the Cartridge and the Waste Path
Once a cartridge is filled, check for drips around the sponge, vent and contact area before it goes back into the printer. A loose cap or a hidden leak can stain the carriage bay and waste ink faster than expected. Stand the cartridge upright for a short while so excess ink settles before installation.
Empty cartridges should be kept in a clean box or container if they are going into an empty return programme. Do not mix wet empties with dusty packaging, staples or scraps of label backing because that grime can move into the refill area later.
- Inspect seals before and after filling.
- Keep caps and plugs with the correct cartridge.
- Store empties in a dry container.
- Separate black, colour and wide-format units.
When a Nozzle Test Shows Trouble
If print lines are missing after a refill, pause before running many deep cleans. Too much cleaning can pull extra ink through the system and flood the waste path, while the original issue may be air, a poor seal or a near-empty tank.
Check the basics first: correct ink type, firm cartridge seating, clean contacts and a full enough reservoir. If the pattern is still broken, print a nozzle check and note which channels are affected. That note helps narrow the fault, whether it is a blocked path, trapped air, or a chip issue.
Careful handling at the bench saves time later. A tidy refill space, the right gloves and patient cleaning habits keep the printer healthier and the work area easier to live with.