
Start with the print job, not the cartridge
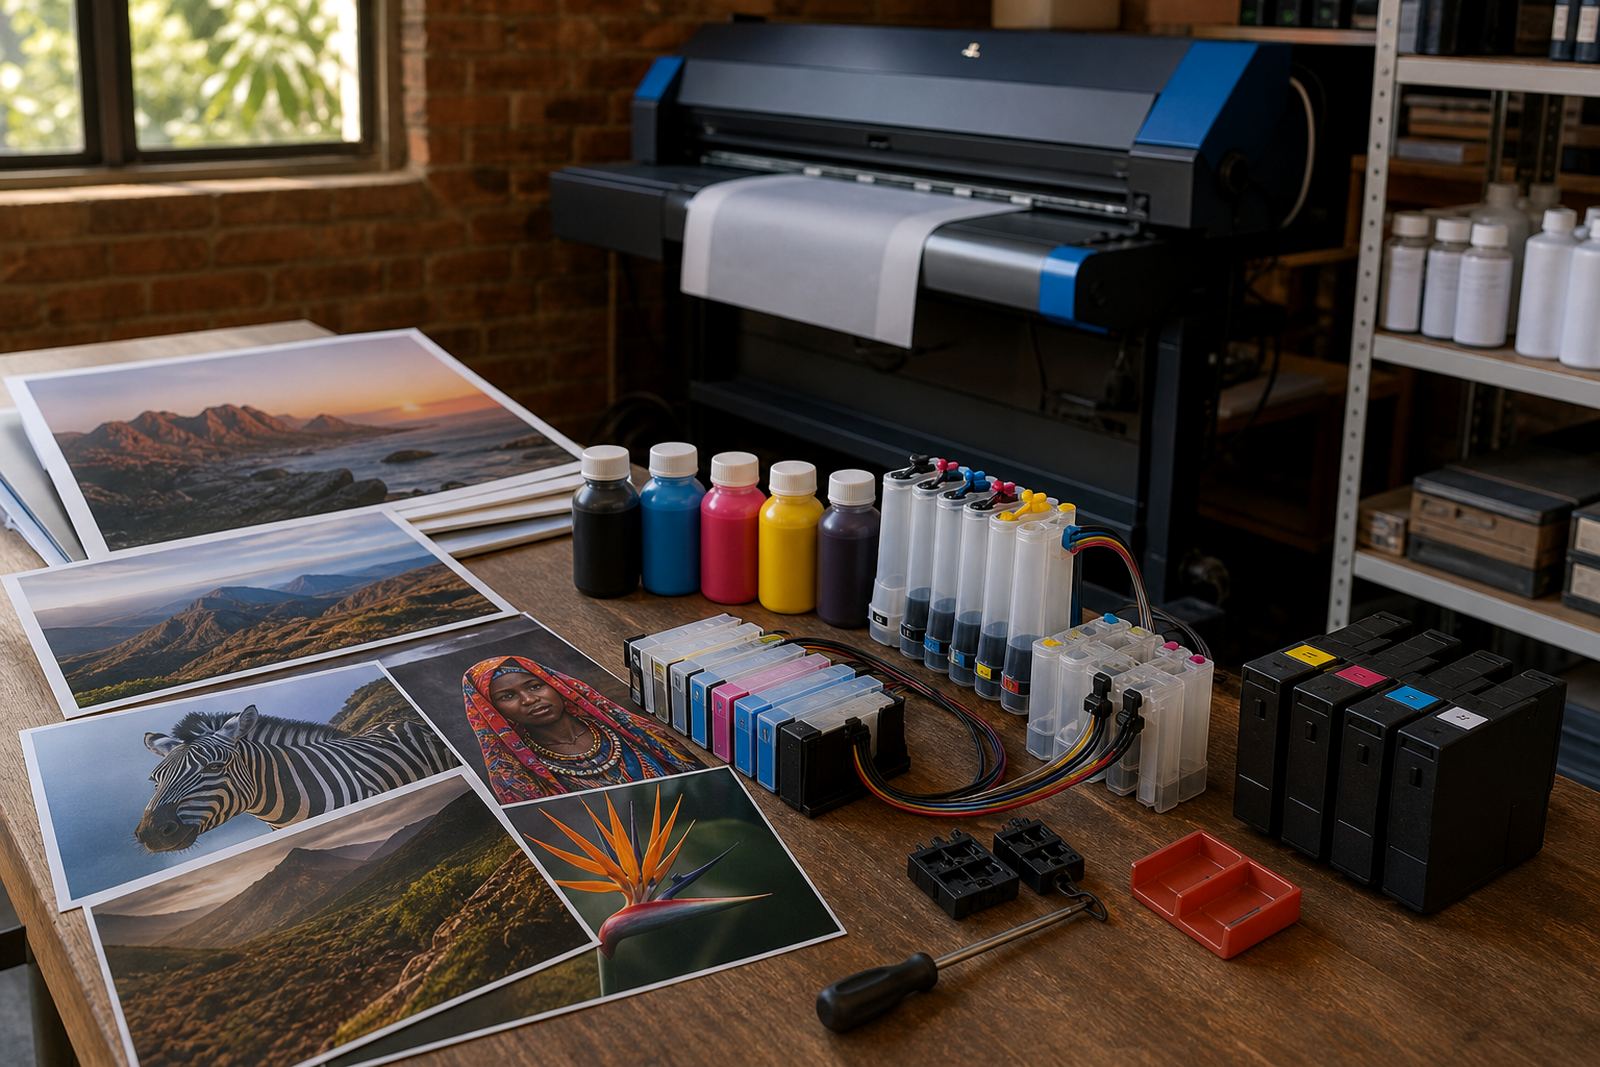
Proofing pages, client mock-ups and display art do not all ask for the same ink behaviour. A sheet that must show fine greys and neutral skin tones needs different handling from a poster that will hang indoors for a month. Before you fill a tank or fit a refurbished cartridge, look at paper type, print frequency and whether the job needs dense blacks, soft colour blends or hard edge text.
In a Westville studio, that usually means separating everyday office pages from design output. A printer that sits idle for days may need a more careful ink choice than one that runs every morning. If the machine is used for proofs, keep a record of the media and ink type that gives the closest colour match, so the next run starts from a known point.
Refurbished cartridges in studio work
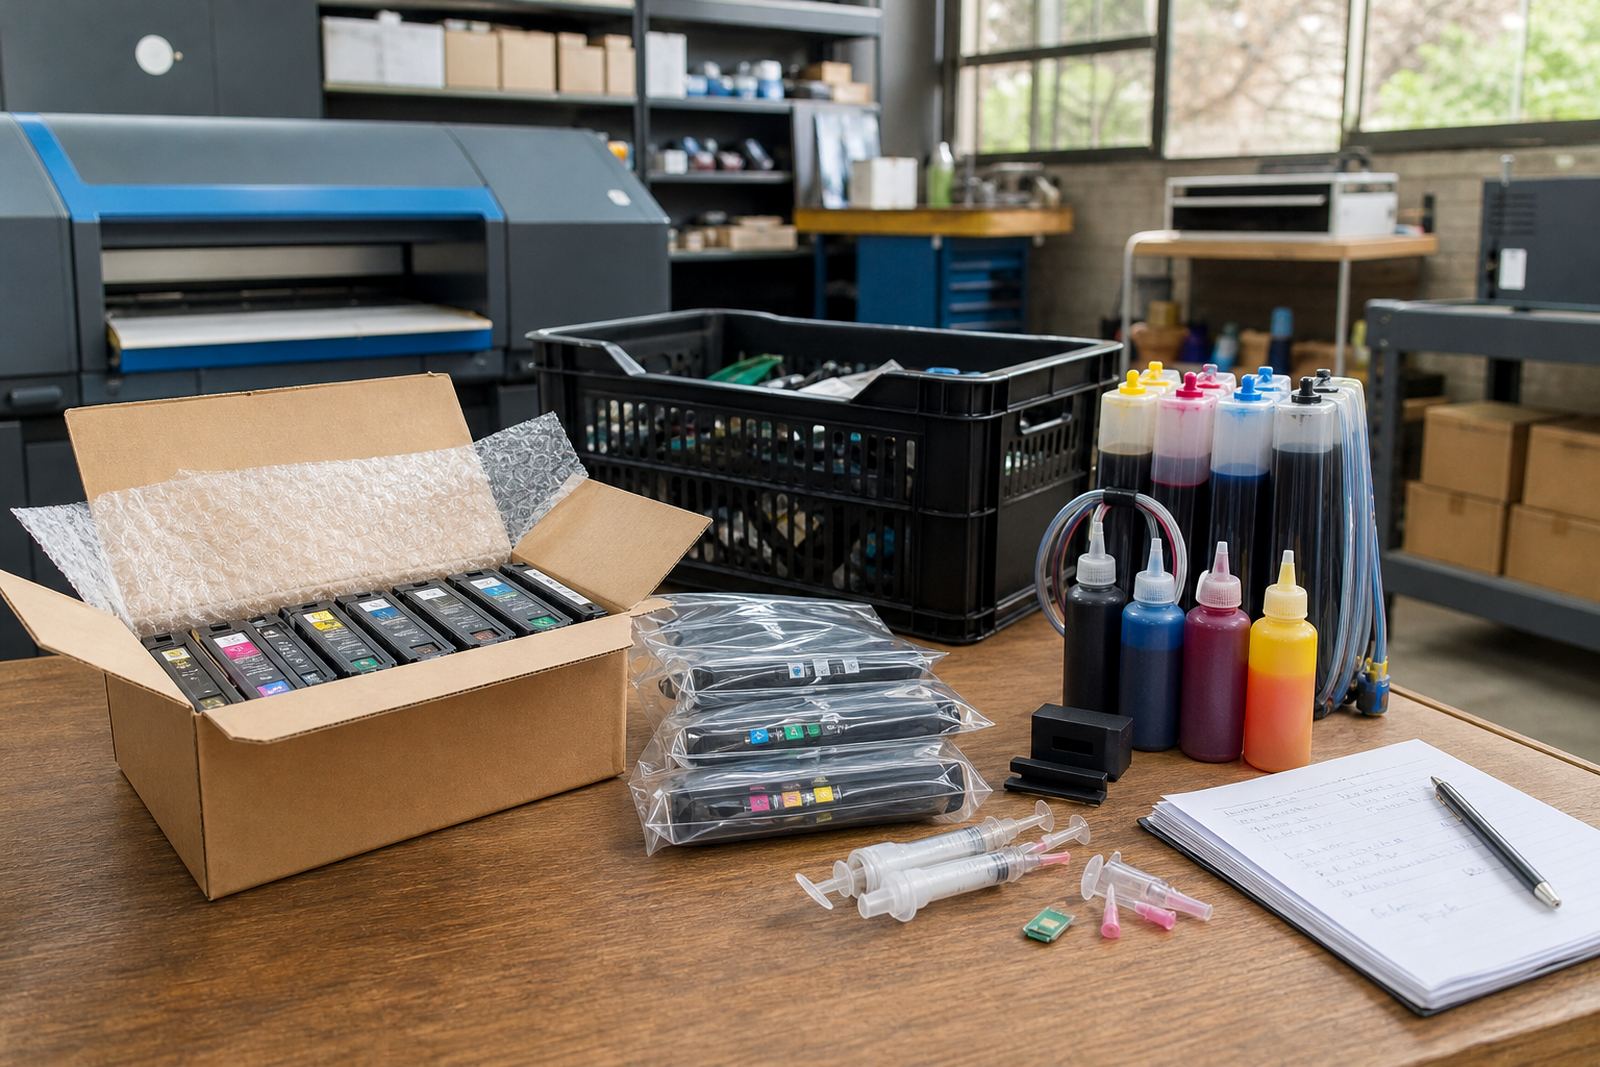
Refurbished cartridges suit studios that print in smaller bursts and want a lower-cost path than buying new units each time. The important part is clean fill quality, proper sealing and a chip that the printer can read without constant faults. A good cartridge should seat properly, feed ink without drips, and leave no stain around the contacts or vent.
- Check the cartridge body for cracks before fitting.
- Wipe contacts with a dry lint free cloth if needed.
- Run a nozzle check after installation.
- Keep spare units in a cool, shaded cupboard.
If a cartridge is near the end of its useful life, it is better to remove it cleanly than push it past the point where it starts leaving streaks. Empty returns also matter, because they reduce mess in the bin and keep plastic out of general waste where possible.
When bulk ink makes more sense
Bulk ink and continuous ink supply systems suit studios that print often and want fewer cartridge swaps. The setup keeps larger reservoirs outside the printer, feeding ink through tubes to the print head. For proofing rooms, that can be useful when several draft sets are printed in one day and the same colour family is used often.
The main decision is whether the printer gets enough use to justify the setup. If it sits unused for long stretches, the inks need more care and more regular checks. Dye ink gives bright colour and smooth blends on many coated papers, while pigment ink is usually preferred where sharper text, darker blacks and better water resistance matter. The paper choice matters too, because the same ink can look soft on one stock and tight on another.
Keep the head and nozzles behaving
Nozzle checks are worth doing before a busy proofing session, not after the job has already gone bad. Missing lines, banding or colour drop-out usually point to air in the line, dried ink at the head, or a cartridge that is not feeding evenly. Printhead care is mostly about prevention, not rescue work.
- Print a small test page before large runs.
- Do not leave the machine idle with an empty channel.
- Use the printer menu cleaning function only when needed.
- Store ink bottles with caps tight and labels clear.
- Keep dust away from open tanks and vents.
Where colour work is sensitive, keep a short log of which nozzle checks passed, which paper was used and whether the first sheet matched the sample. That makes it easier to spot a pattern before wasted sheets start piling up.
Colour balance for proofing and visual design
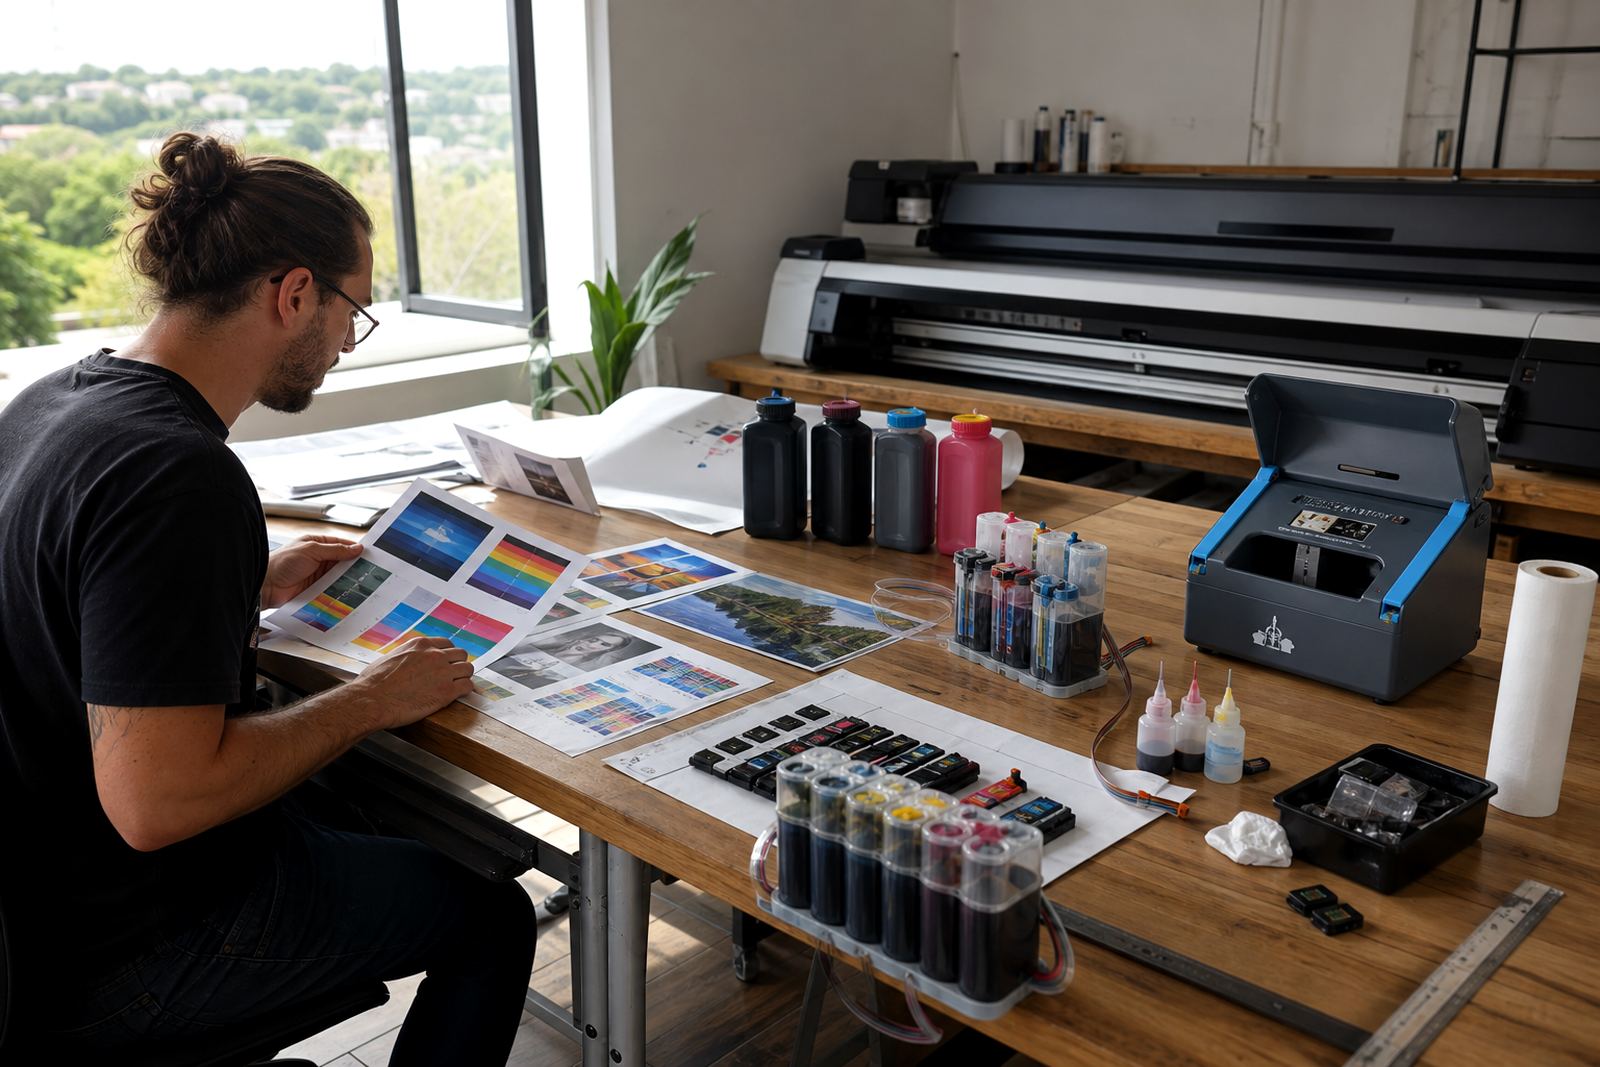
Studio colour is less about perfect numbers and more about repeatable results. If skin tones are warming up, greys turning green, or a logo is printing too dark, the fix may sit in the ink type, paper profile or head condition rather than in the artwork file. Small adjustments matter here, because a slight shift can change the feel of the whole page.
For artists and designers, it helps to keep one reference print on the same stock, then compare new output against it under the same light. North-facing daylight and office lighting can make a proof look different, so check under the light where the print will be reviewed. If the work moves between Durban and Johannesburg teams, keep the same paper and ink family where possible so the colour story stays steady.
A practical studio checklist before a run
Before a client proof set or artwork batch goes out, run through a short check that covers ink, paper and the printer state. This saves paper and avoids the awkward moment where the first useful sheet appears only after several wasted pages.
- Confirm the ink type matches the paper finish.
- Check tank levels or cartridge fill levels.
- Run a nozzle check and inspect the pattern.
- Clean the platen and paper path if dust has built up.
- Keep spare cartridges or bottles ready for the next session.
- Set aside empty units for the return programme.
Where a studio uses several printers, label each one for its main use, such as proofing, photo work or office output. That keeps the ink mix predictable and helps the team avoid fitting the wrong cartridge into the wrong machine.
Support habits that save time later
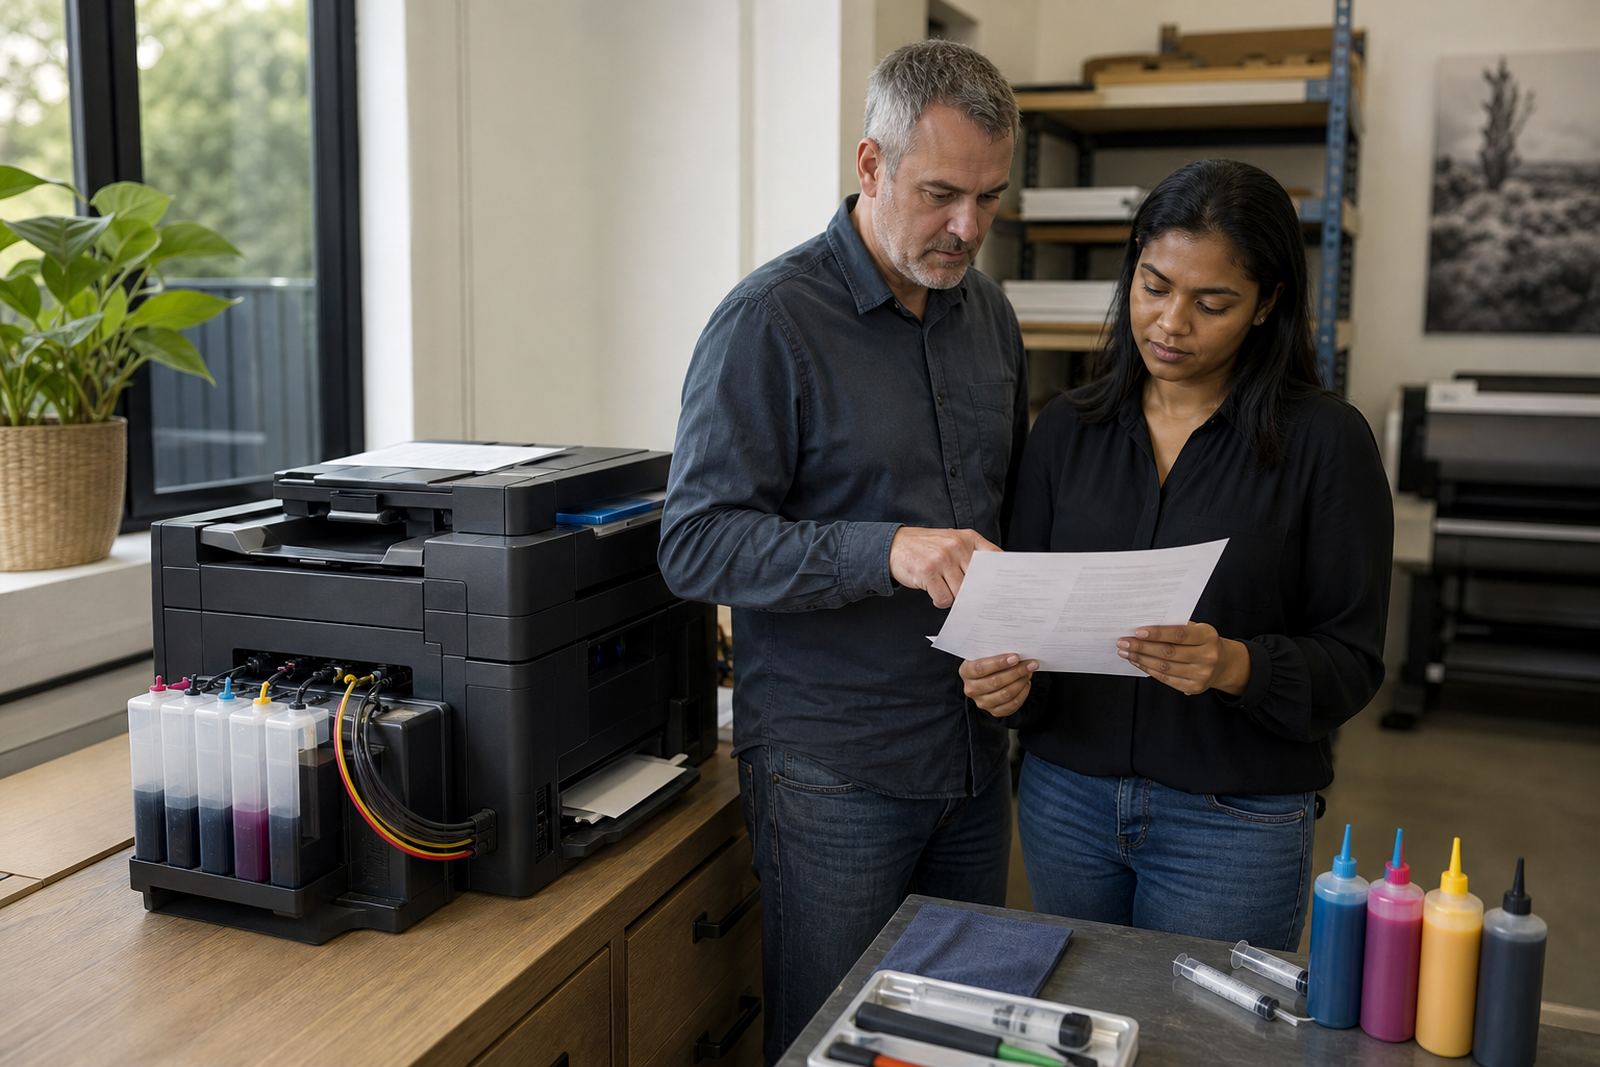
A studio gets better results when the printing routine is boring in the right way. Use the same refill method, the same storage place and the same check step after a tank fill or cartridge change. Keep operators trained on basic leak checks, chip reset help and the signs of air in the line, because small faults can spread into a bigger job loss if nobody notices them early.
InkEx works with offices, design studios and wide-format print shops from Westville and across South Africa, including Durban, Pietermaritzburg, Johannesburg, Pretoria and Cape Town. The team also handles refill advice, CISS setup help, stock planning and remote troubleshooting through our contact form, with courier delivery for the areas that need it.