
The brief from a sample room that prints all day
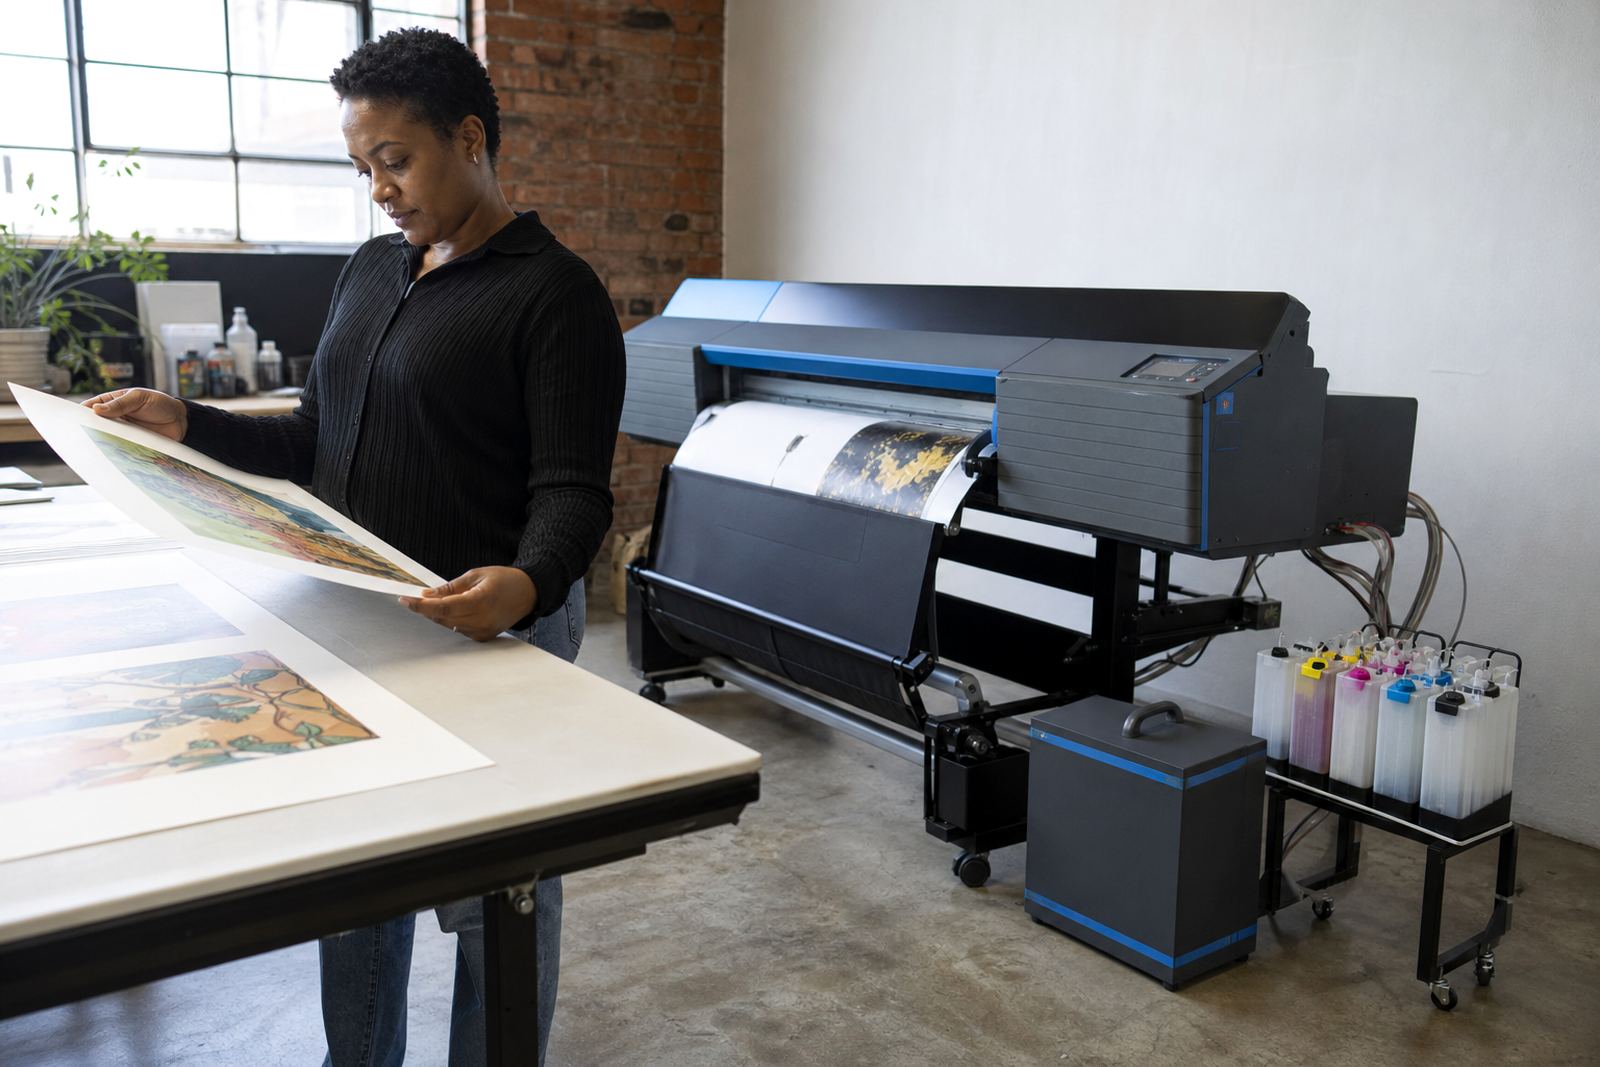
The client was a proofing room in Sandton that produces repeated sample sheets for design teams, pack checks and sign-off pages. Their work depends on stable colour, clean nozzles and a steady supply of ink, because a small shift in density can throw off a proof and send the job back to the start.
The brief was to reduce cartridge spend and cut waste without losing control over the print result. They wanted a refill method that staff could follow properly, not a rough top-up that leaves air in the line or stains the capping station. They also needed help separating dye and pigment use, since the room handled different printers for different output types.
- Controlled refill practice for repeat sample output
- Advice on dye ink and pigment ink use by device type
- Support for nozzle checks, cleaning and colour balance
- Recovery of empties for recycling rather than bin disposal
Space limits, clean benches and no room for messy handling
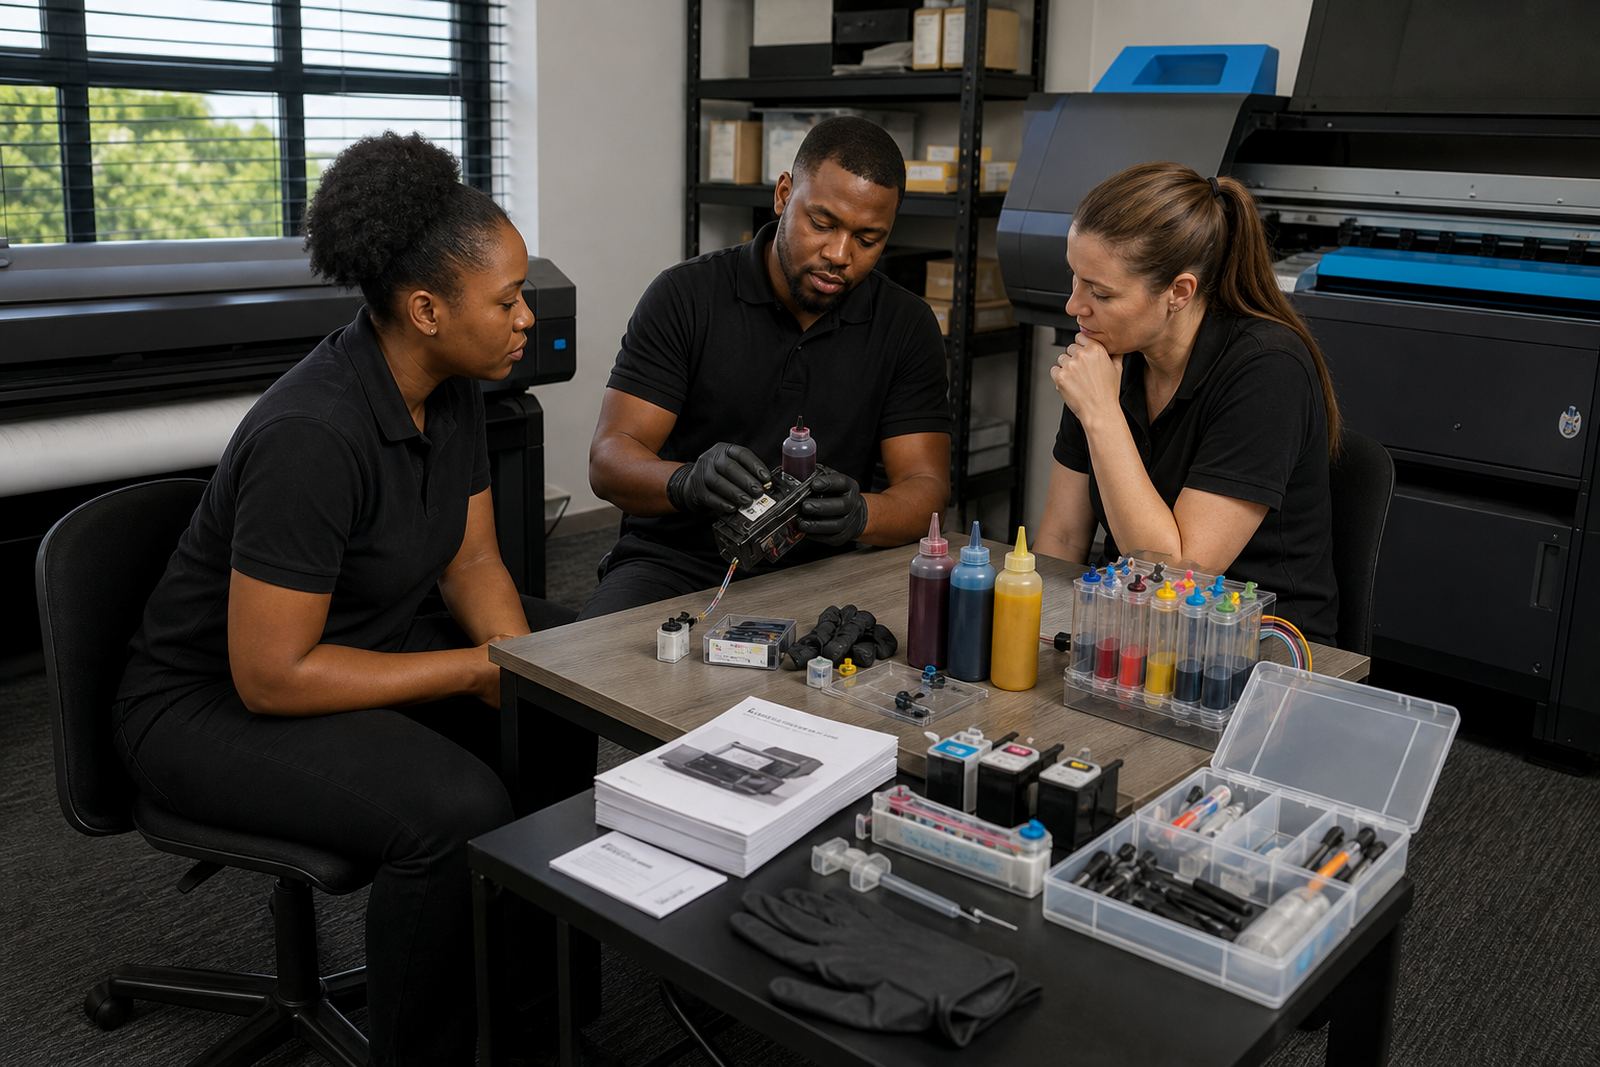
The proofing area had limited bench space and a strict clean-work routine. Cartridges could not be left open, bottles could not be stored next to paper stacks, and the team needed clear steps for filling, sealing and storing consumables. The room also had mixed users, so we had to make the process easy enough for office staff while still useful to the operators who handled the finer colour work.
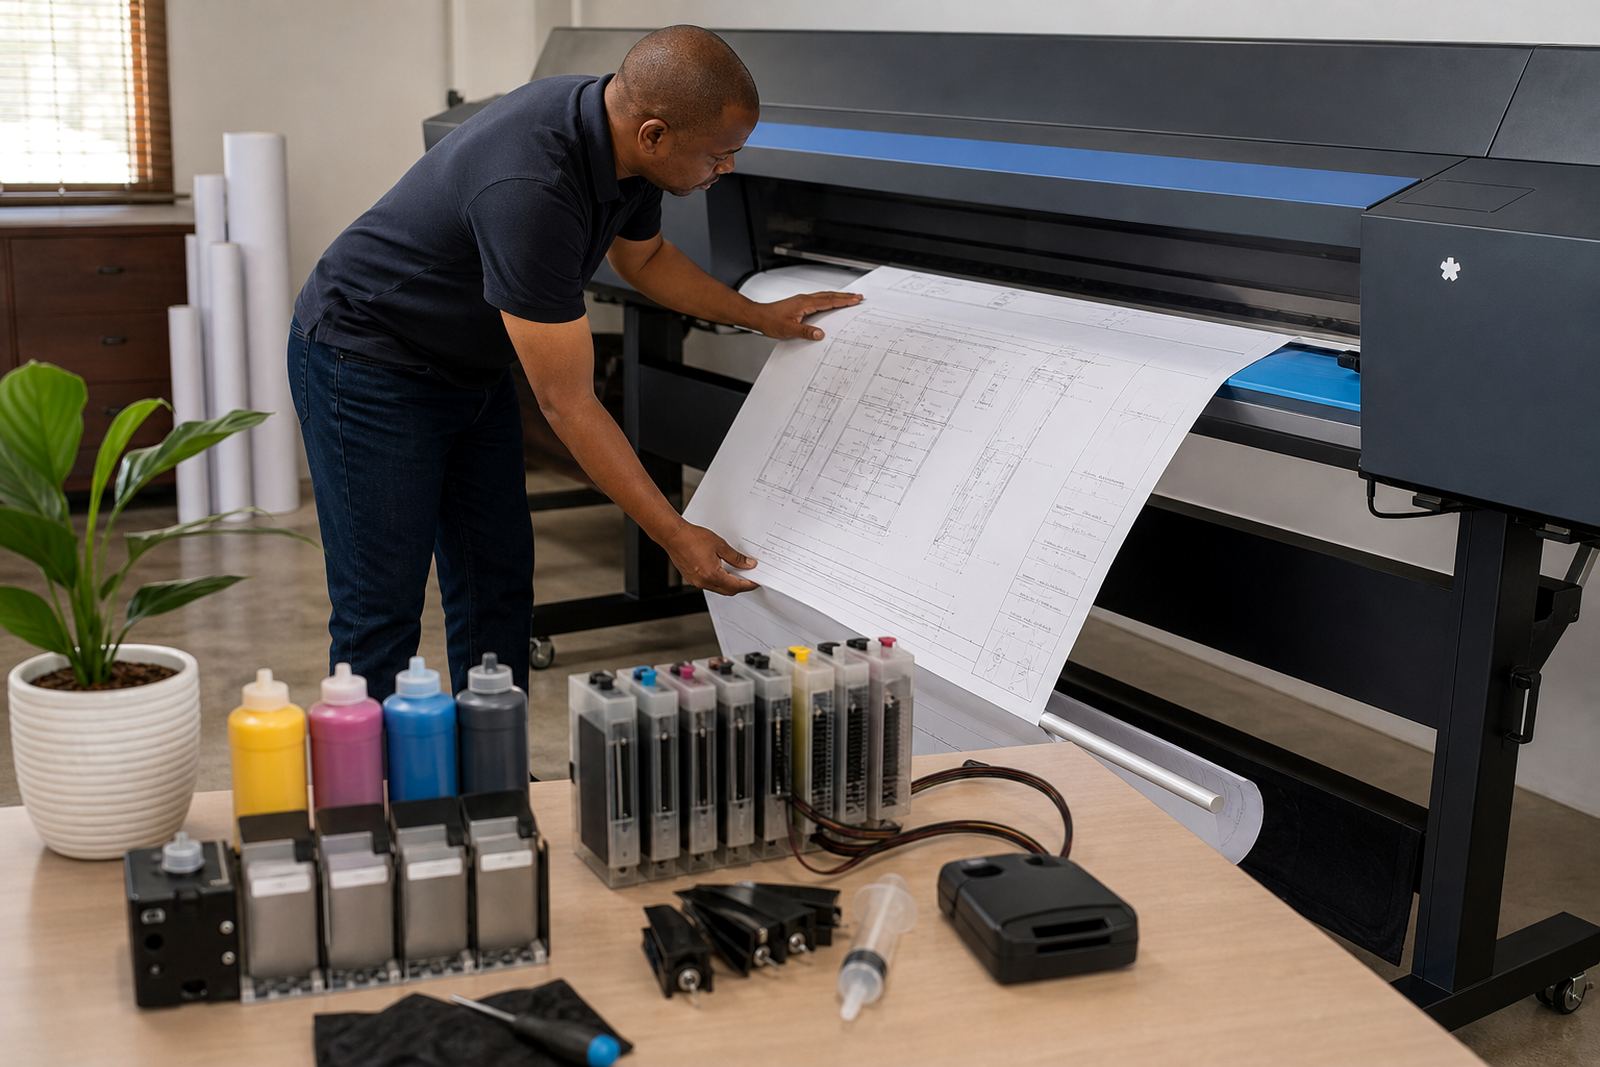
We set the layout around small handled containers, labelled fill points and a wipe-down routine for each refill. That reduced the chance of spillage and kept ink off the rollers, scanner glass and nearby proof sheets. In a room like this, a tiny leak can leave a very visible mark on a live job and waste more paper than the cartridge was worth.
- Clean refill station with labelled containers
- Leak checking before a cartridge returned to service
- Storage notes for unused cartridges and spare ink
- Practical handling for mixed-use staff
What we supplied for the Sandton setup
We supplied refurbished cartridges for the relevant printer range and a bulk ink approach for regular proof work where repeated fills made more sense than single replacements. The work included refill guidance, chip reset help where suitable, and printhead care steps so the team could keep the nozzles open and the colour even.
The setup also covered remote troubleshooting for the times when a cartridge read as empty too early, a nozzle check showed missing lines, or the colour balance drifted after a refill. In those cases, the problem is often not the ink alone but the filling method, trapped air, or a head that needs a proper clean cycle before more pages are run through it.
- Refurbished cartridges matched to the print setup
- Bulk ink refill support for repeat sample output
- Chip reset help in general terms where the cartridge model allowed it
- Nozzle check support and printhead care notes
Four weeks of change on the bench
The move into the new method ran over four weeks. The first week was spent checking the printer mix, confirming which devices took dye and which needed pigment, and mapping out the order in which staff were filling cartridges. The second week focused on the refill station itself, including leak checks and the correct wiping routine after each fill.
By the third week the room was using the refill plan on live sample work, which let us see where line breaks, colour shifts and operator habits were affecting output. In week four we tightened the stock plan and introduced a simple empty return system so used shells were collected instead of left in a drawer or bin. The process settled down once the team had repeated the steps a few times, and the printer room felt less improvised.
- Week 1, printer mapping and ink type checks
- Week 2, refill station setup and leak control
- Week 3, live sample output and fine tuning
- Week 4, stock planning and empty return process
What improved once the process got steady
The strongest change was consistency. The room was no longer treating each cartridge as a single-use item, so running costs dropped and the team kept more working stock on hand. Staff also became more careful with nozzle checks, which helped catch blockage early instead of discovering it after a proof had already been printed.
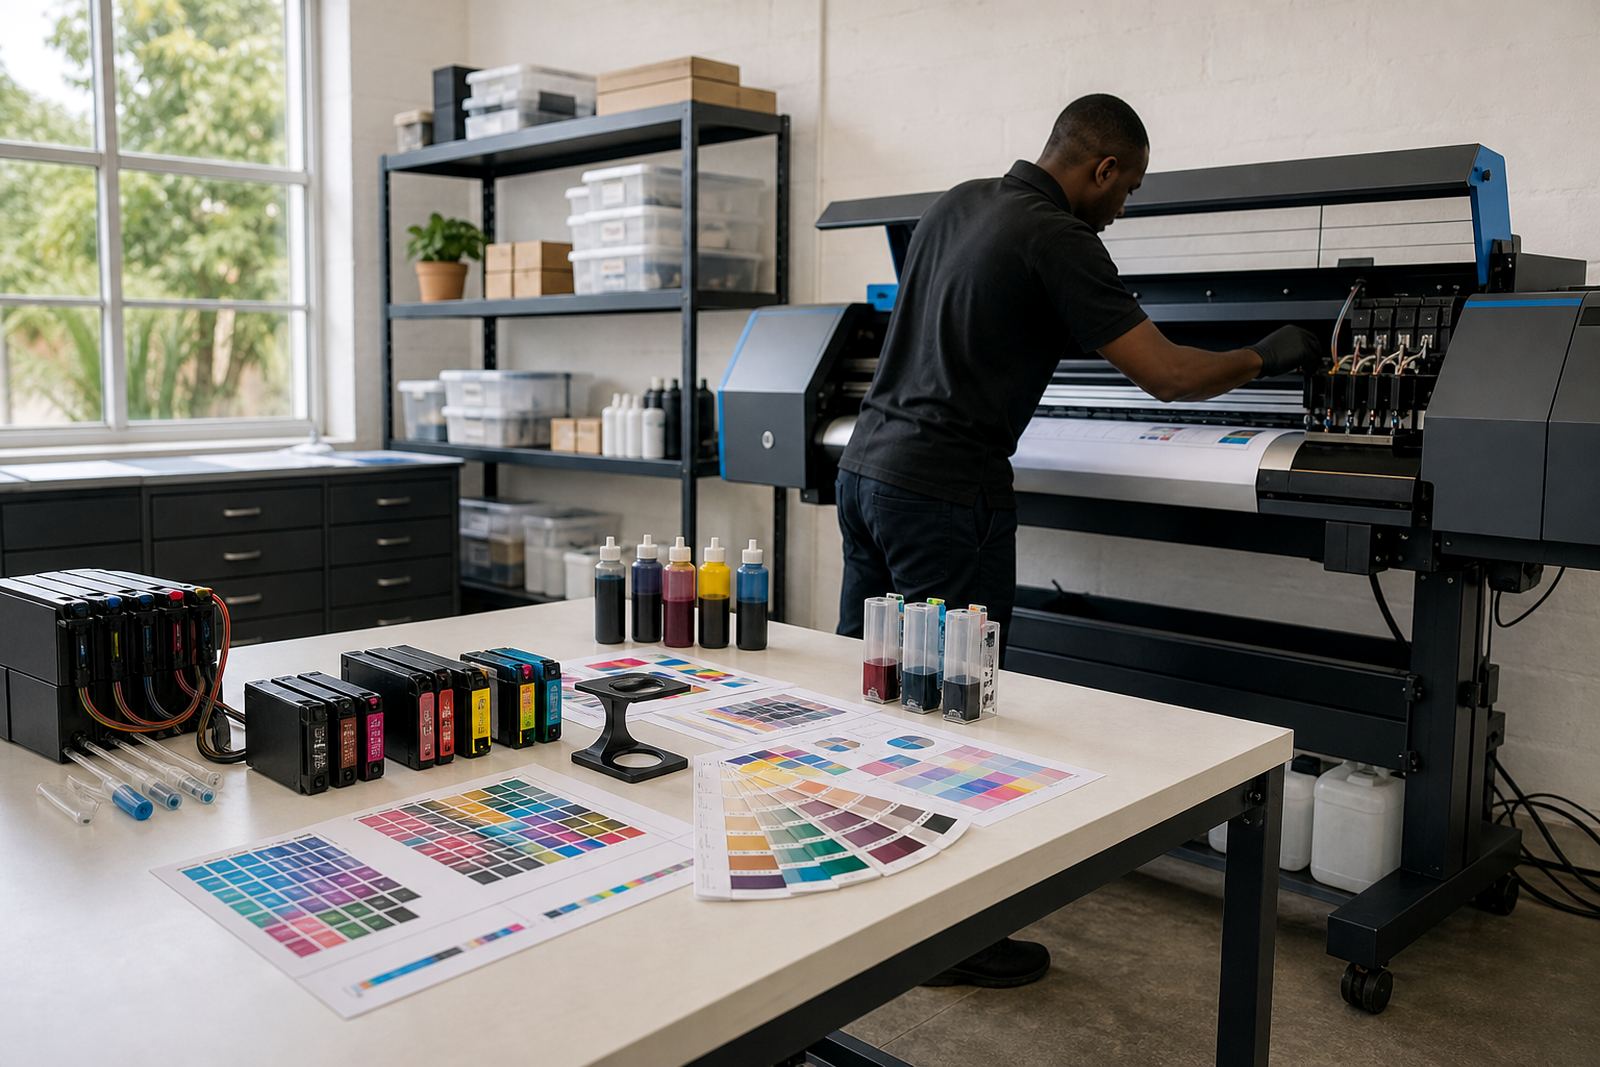
Colour balance improved as well because the team stopped mixing ink types without checking the printer role first. That sounds basic, but it matters in a proof room where one machine might be used for crisp text pages and another for heavier colour blocks. The result was less waste, fewer emergency reprints and a cleaner bench at the end of the day.
- Lower cartridge waste through controlled reuse
- More stable output on repeated sample pages
- Better handling of colour balance and nozzle checks
- Cleaner working area and easier empty collection
What we would repeat on a similar proof room job
If the same kind of room came through again, we would start with the printer mix and the kind of proofs being run, then build the refill method around that. A proofing room does not need a loose pile of consumables, it needs a predictable system that fits the people working there and the output they are expected to keep consistent.
We would also keep the empty return routine from the start, because used cartridges are easier to manage when they have a place to go. In a busy Sandton office environment, tidy handling saves time and avoids the half-finished refill that ends up leaking in a tray or drying out on a shelf. The method is straightforward, but it works best when the team follows the same steps each time.
- Start with printer roles and output type
- Match dye or pigment ink to the device
- Build a refill routine staff can repeat
- Keep empty collection part of the daily flow
Key facts
| Project type | Proofing room refill control and cartridge support |
|---|---|
| Town | Sandton |
| Client type | Office-based proofing room |
| Scope | Refurbished cartridges, bulk ink, colour checks and operator support |
| Timeline | 4 weeks |
| Core outputs | Repeat sample printing with lower waste and better refill control |